

How to create your very own professional-looking gallery wall
A gallery wall is a great way to create a feature wall, show off your hundreds of lovely photos or even add drama to a room without too much hassle. And it is something that you can change and swap around whenever the feeling tickles your fancy.
You'll need a little bit of time to map out your gallery and to hang your photos but there is nothing too strenuous to it really. In fact, making sure you have clean, straight lines is probably the hardest thing about it.
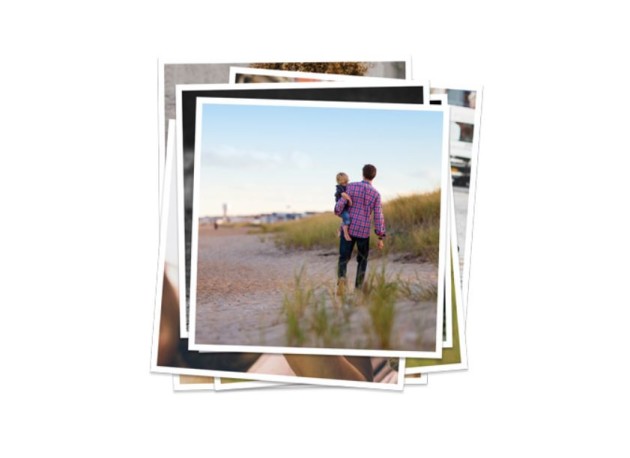
One of the best shapes to go for when it comes to your gallery wall, in our opinion, is square. Fujifilm actually allow you to print off your photos – canvas and just normal prints – in a square shape which is ideal for this job. The photos don't all need to be the same size but the square shape gives consistency and makes it look clean, and therefore visually appealing.
To help you make the most professional-looking gallery wall (without having to call in the experts), we have compiled a list of six tips that you should follow before you go anywhere near the wall with a nail.
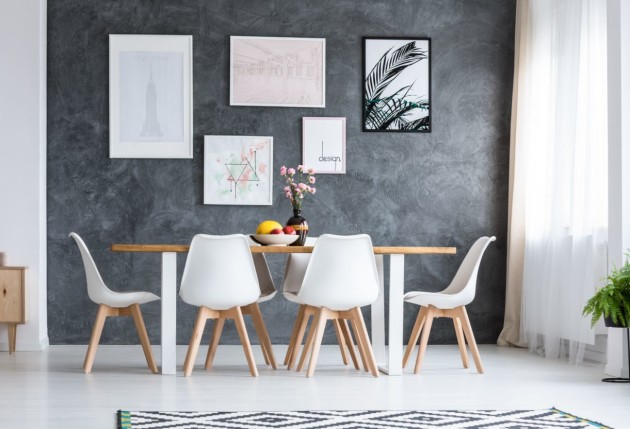
1. Know how many photos you want to work with
Make sure you have enough photos to make an even gallery wall. Work in columns or rows of threes or fours (i.e eight or nine photos) – anything less and the impact won't be as dramatic; any more and you'll suffocate your wall. Once you have decided how many photos you need, print them via the Fujifilm Imagine app and pick up your frames.
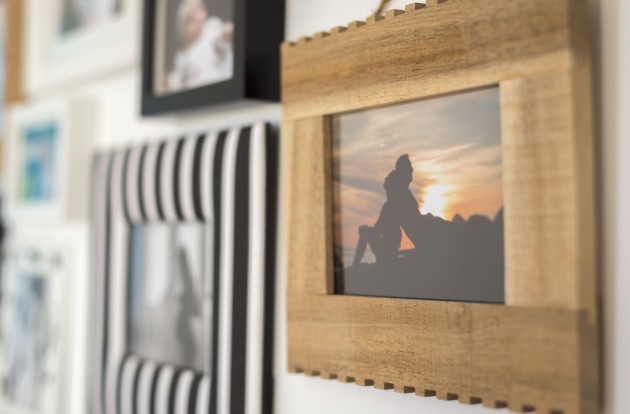
2. Speaking of frames…
To keep things clean, opt for frames of similar thickness and colour, although using various frame colours can look really nice on a plain background. However, you don't even have to use frames. Fujifilm allows you to put your favourite photos on square canvas which can look really effective if mounted on a white wall.
3. Make sure your wall is ready
There is no point hanging up your wonderful gallery only for your dirty, paint-peeling wall to take away from it. Before you start, smooth down any lumps and bumps, wipe away any stains and re-paint if necessary. If you opt for a patterned wallpaper, keep your frames fairly neutral or if you opt for a plain background, go with colourful frames and photos.
4. Grab that measuring tape
Before you put a nail anywhere near your wall, measure out exactly where on the wall you want to put your frames/ canvas prints. You will need to measure out the space between each photo – top, bottom and sides – so that they are equal in distance and straight. For this you will need to know how much space you want between them and in what part of the wall you want them to hang. So have a proper think about arrangement and use a pencil to map it out.
5. Create templates
To be 100 percent sure that everything is right, we suggest you create templates out of newspaper so that you can visualise what exactly your gallery wall will look like. Use masking tape to stick your newspaper frames on the wall and step back. How does it look? If you're not feeling it now is the time to move things around and try a new arrangement.
6. Now is the time for nails
Once you're happy with your arrangement, mark out where your nails will go and get hammering. Hang photos one at a time so that if you do change your mind halfway through it won't be too much of a hassle. When all your photos are up take a step backwards. Look out for mismatched colours and crooked frames, the things that take away from your beautiful gallery wall.
Now all you need to do is give yourself a pat on the back for a job well done, and enjoy your work of art.


